


Introduction
This guide shows how to use dynamic filters in Easy8. These filters allow users to interact with data in real time and personalize their views. You’ll learn how to activate dynamic filters in different modules and how to use the filtering interface for sorting, grouping, and customizing data display.
Target Audience
- User
- Administrator
Prerequisites
- Access to Easy8 with permission to view task lists, projects, time entries, or dashboards
- Basic understanding of how filters work in list views
How to Use Dynamic Filters in Easy8
Step 1: Activate Dynamic Filters in a Module
- Go to the module where you want to use dynamic filters (e.g. Tasks, Projects, Spent Time).
- Click on Filters or Options in the module toolbar.
- Select Dynamic filters to switch to the dynamic filtering mode.
Modules that support this feature:
- Task List
- Project List
- Spent Time Entries
- Personal Statement
You can also add dynamic filters as a module on a personalized page:
- Click Customise at the bottom of the page
- Choose the Dynamic filters module from the available list
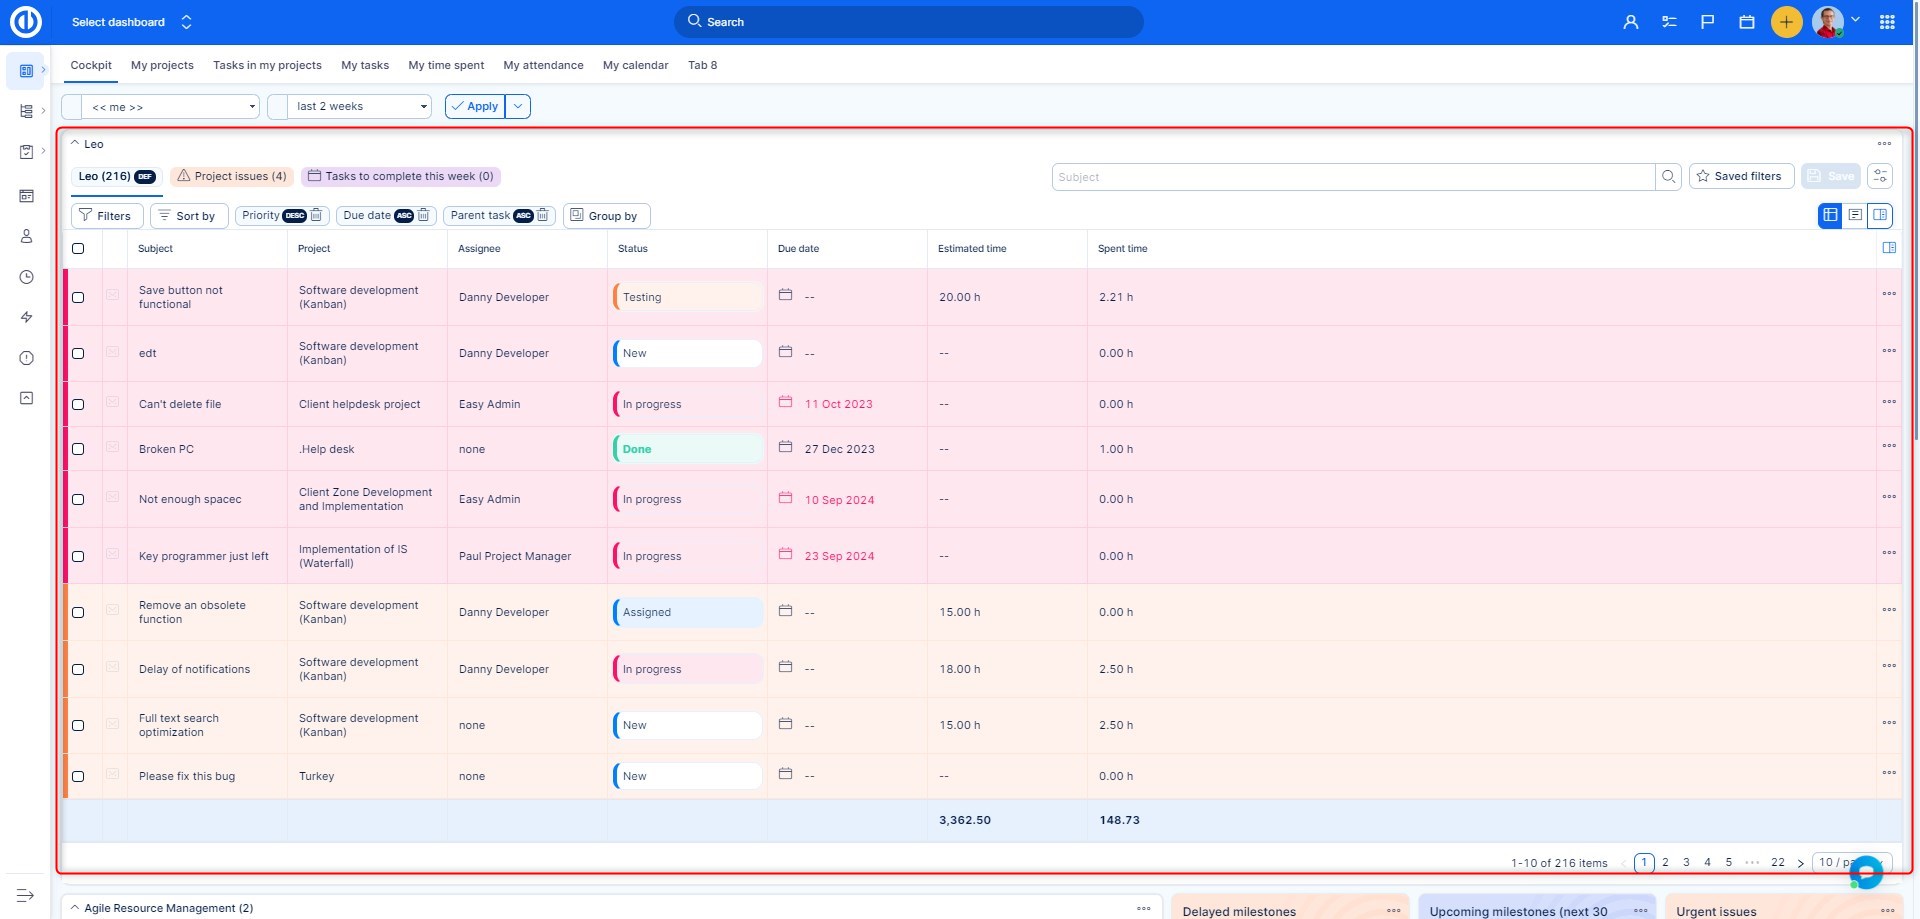
Step 2: Use the Filter Interface
- Click the Filters button to select filtering conditions like Date, User, or Status
- Use dynamic values like User is me to personalize the results
- Change the sorting and grouping options:
- Sort by: Choose up to 3 fields (e.g. Date, Task Type)
- Group by: Group data (e.g. by Year, Activity)
- Customize the data layout using Show as (List or Cards)
Step 3: Adjust Columns and View Options
- Click Add columns to choose which fields to display and in what order
- Use the three-dot menu next to column names to pin, remove, or insert columns
- Sort columns using the arrow icons
Step 4: Work with the Data
- Use checkboxes in the first column to select rows
- Once selected, the Actions menu will appear for editing, deleting, or bulk operations
- Click into a cell to edit values directly, or use the drop-down or pencil icon depending on the field
Step 5: Set Page Options
- Use the bottom-right menu to change the number of items per page
- Browse through the result pages if your list is long
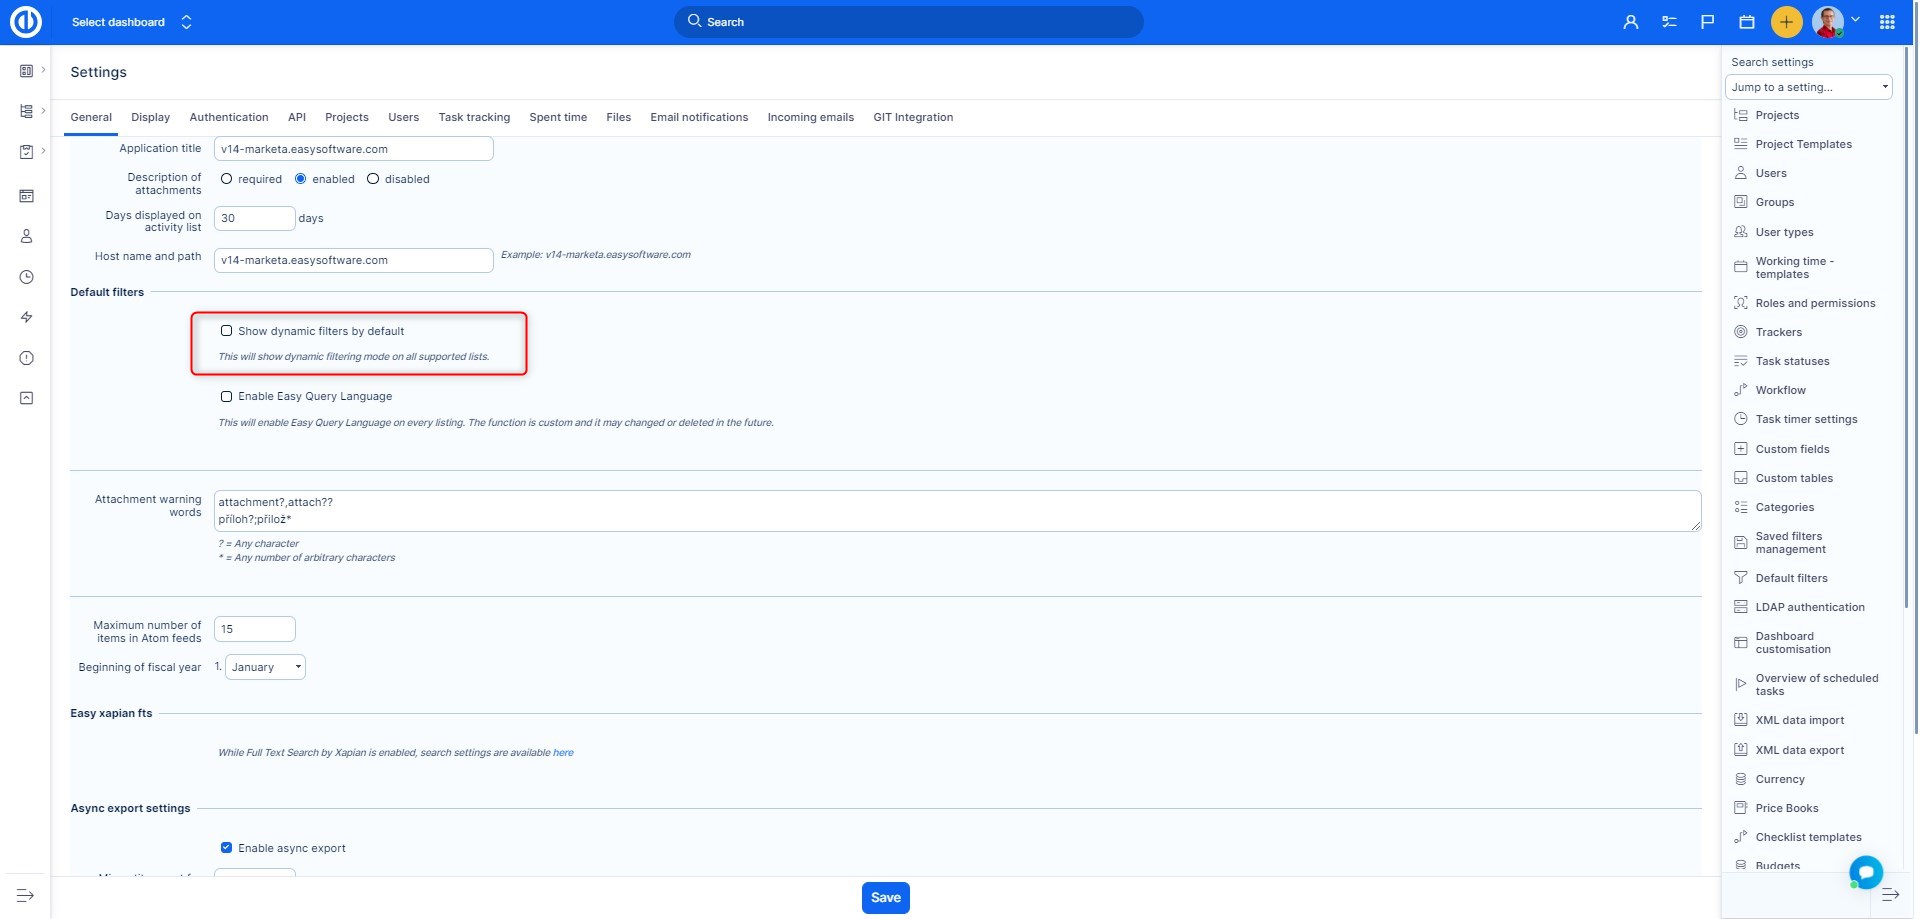
Optional: Show Dynamic Filters by Default
- Administrators can enable dynamic filters by default:
- Go to Global menu > Administration > Settings > General > Dynamic filters' settings
- Check Show dynamic filters by default
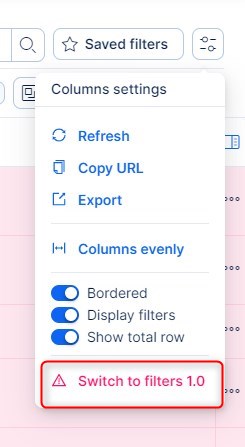
To temporarily return to the older version:
- Open Table settings clicking the top right icon
- Select Switch to filters 1.0 (affects only the current user session)
Conclusion
You have successfully used dynamic filters in Easy8. They allow real-time, personalized filtering in multiple modules and make your data views flexible and efficient.

