


Introduction
This guide shows you how to apply a dashboard template in Easy8. Templates help you quickly fill your dashboard with pre-defined tabs and widgets for specific roles or use cases. You can choose to fully replace existing content or add to it.
Target Audience
- User
- Administrator
Prerequisites
- Access to an existing dashboard
- Permission to customize the dashboard
How to Use Dashboard Templates
Step 1: Open the Dashboard
- Go to the dashboard you want to update.
- You can find it from the Jump to Dashboards or other navigation.
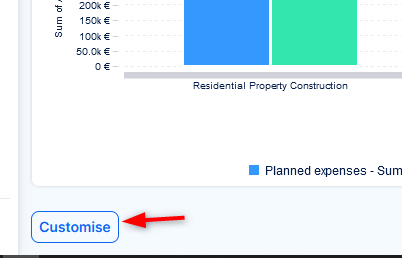
Step 2: Customise the Dashboard
- Click the Customise button at bottom left of the dashboard.
- The dashboard will switch to edit mode.
Step 3: Click Apply Template
- In edit mode, click the Apply Template button at the top of the page.
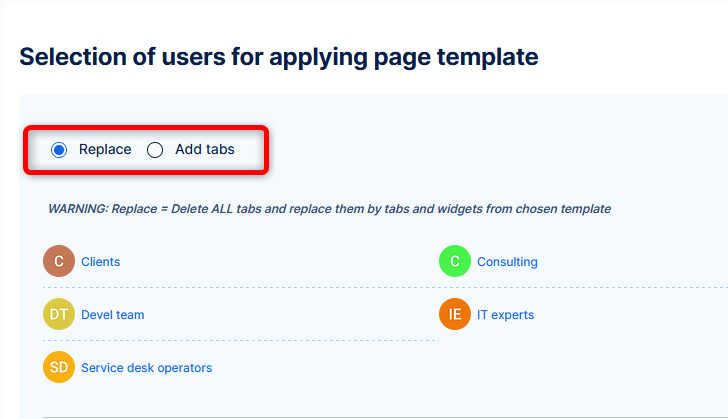
Step 4: Choose How to Apply the Template
You will see a dialog with two options:
- Replace – This will delete ALL existing tabs and replace them with tabs and widgets from the selected template
- Add tabs – This will keep your current tabs and add new ones from the template
WARNING: If you choose Replace, all your current dashboard tabs and widgets will be lost
Step 5: Select a Template
- Use the Choose template dropdown.
- Select from available templates, such as Basic homepage.
Step 6: Confirm and Apply
- Once selected, confirm your choice.
- The dashboard will now update with the template content.
Conclusion
You have successfully applied a dashboard template in Easy8. This feature helps you quickly build structured dashboards using predefined layouts and widgets, while still allowing full customization afterward.

