


Introduction
This guide will show administrators how to set and manage default filters in Easy8. Default filters define what users see by default when they open a module such as Tasks, Projects, or Time Entries. These filters help deliver focused views without requiring users to set filters manually each time.
Target Audience
- Administrator
Prerequisites
- Administrator access to Easy8
- Understanding of which module (e.g. Tasks, CRM, Time Entries) you want to apply the filter to
How to Set and Use Default Filters
Step 1: Open the Default Filters Administration
- Go to the Global menu.
- Click Administration.
- Select Default filters from the administration menu.
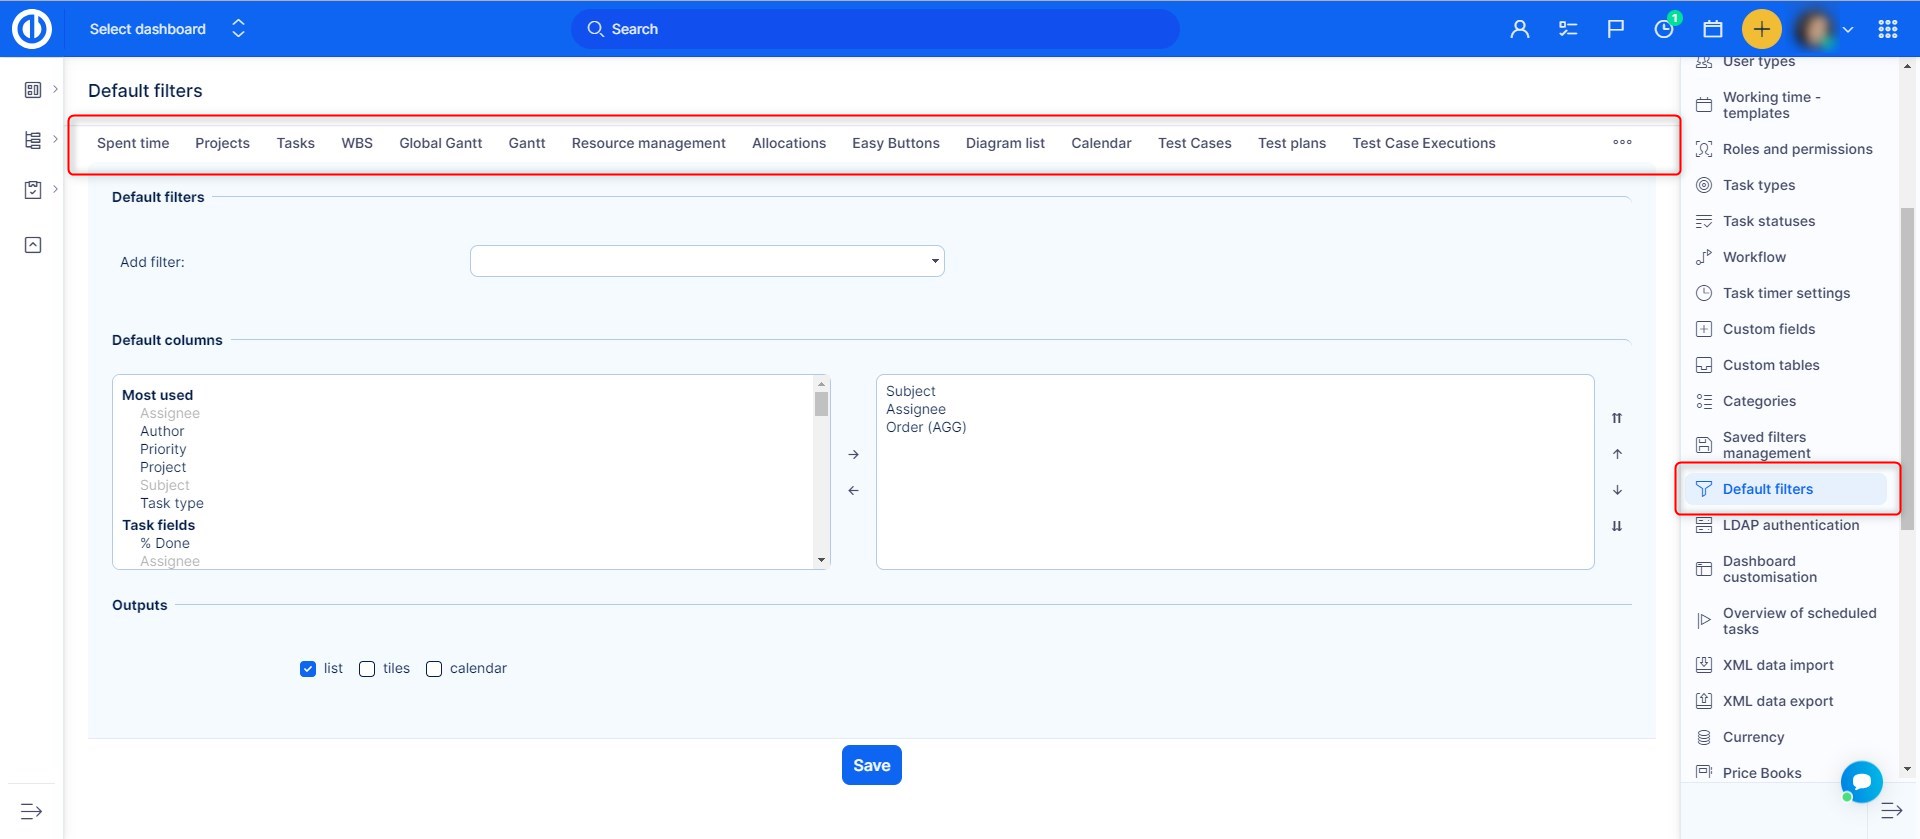
Step 2: Choose the Target Entity
- In the Default Filters page, you will see tabs for different entities.
- Click on the tab for the entity you want to configure (e.g. Tasks, CRM, Time Entries).
Step 3: Set Filter Conditions
- You will see a filter setup page similar to the one used for creating custom filters.
- Add your desired filter conditions, such as Status = Open, Assigned to = Me, or Due date = This week.
- Click Save to apply the default filter for that entity.
These filters will be automatically applied to users who open the module without any active personal filters.
Step 4: Users View the Filtered Data
- When users open the selected module, the default filter will load automatically.
- If users apply their own custom filters, the default filter will be overridden.
- Removing personal filters will re-activate the default filter.
Conclusion
You have successfully set a default filter in Easy8. This allows you to define the first view your users will see, helping them focus on relevant data from the start.

