Checklists
A checklist is a type of informational job aid used to reduce failure by compensating for potential limits of human memory and attention. It helps to ensure consistency and completeness in carrying out a task. A basic example is the "to do list." A more advanced checklist would be a schedule, which lays out tasks to be done according to a time of day or other factors. A primary task in a checklist is documentation of the task and auditing against the documentation.
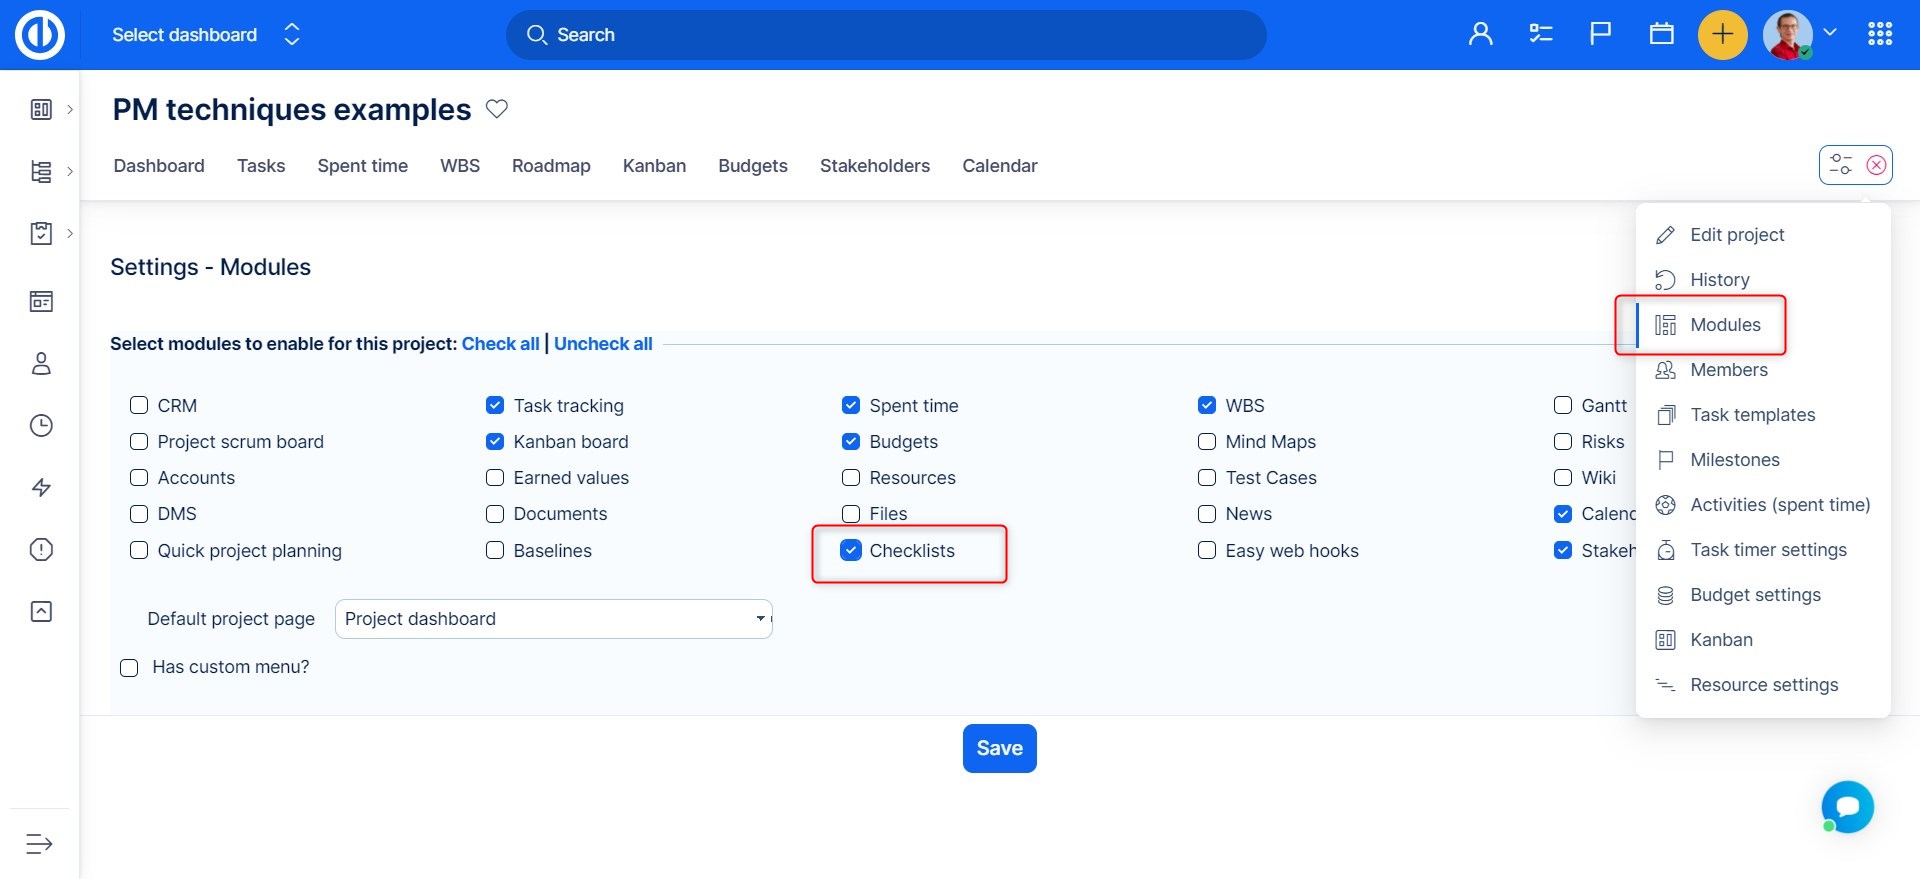
Checklists is a project-based module. Before start using it, you need to enable the module on a particular project. To do so, go to Project controls >> Modules >> tick the checkbox "Checklists" and save.
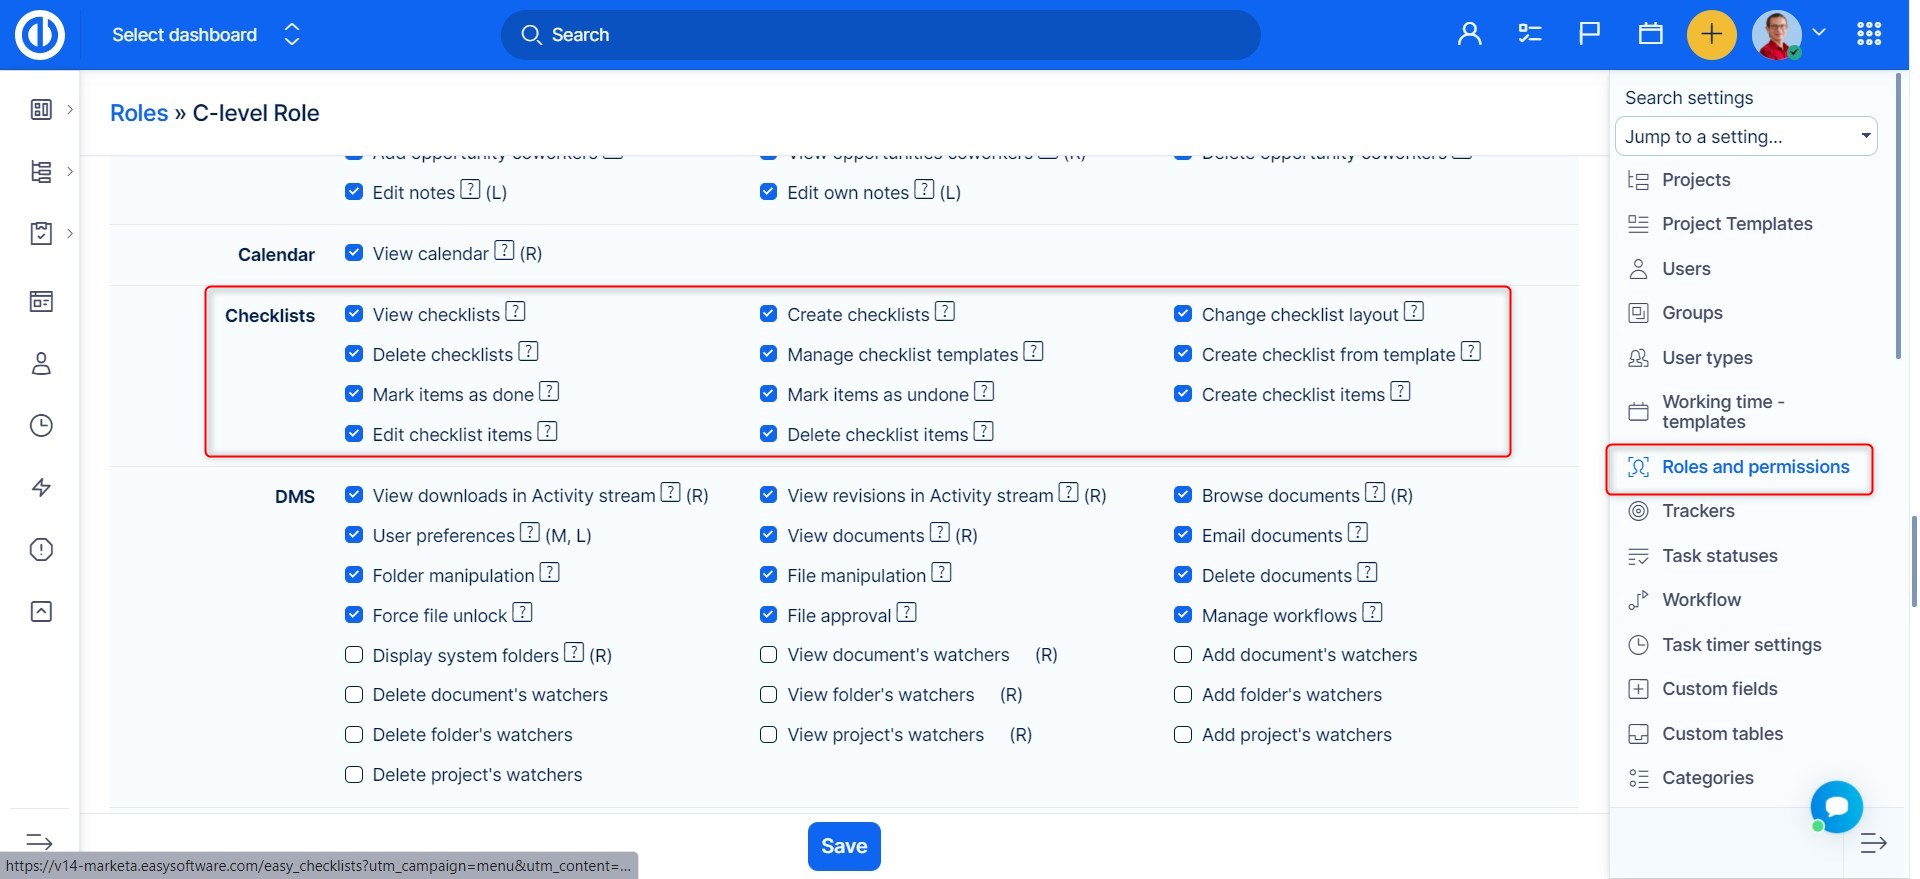
Moreover, make sure you have the project permissions to view and edit checklists on your role. This can be set by Administrator in Global menu >> Administration >> Roles and permissions.
Once checklists are enabled and you have the necessary permissions, you can find them on the project's tasks. Just open any task and you see there is a Checklists section above the journal. To add a new checklist, click on the three dots on the right side. Then click on the small "+" symbol, enter the name and finally click on the floppy icon , or hit ENTER to save the checklist.
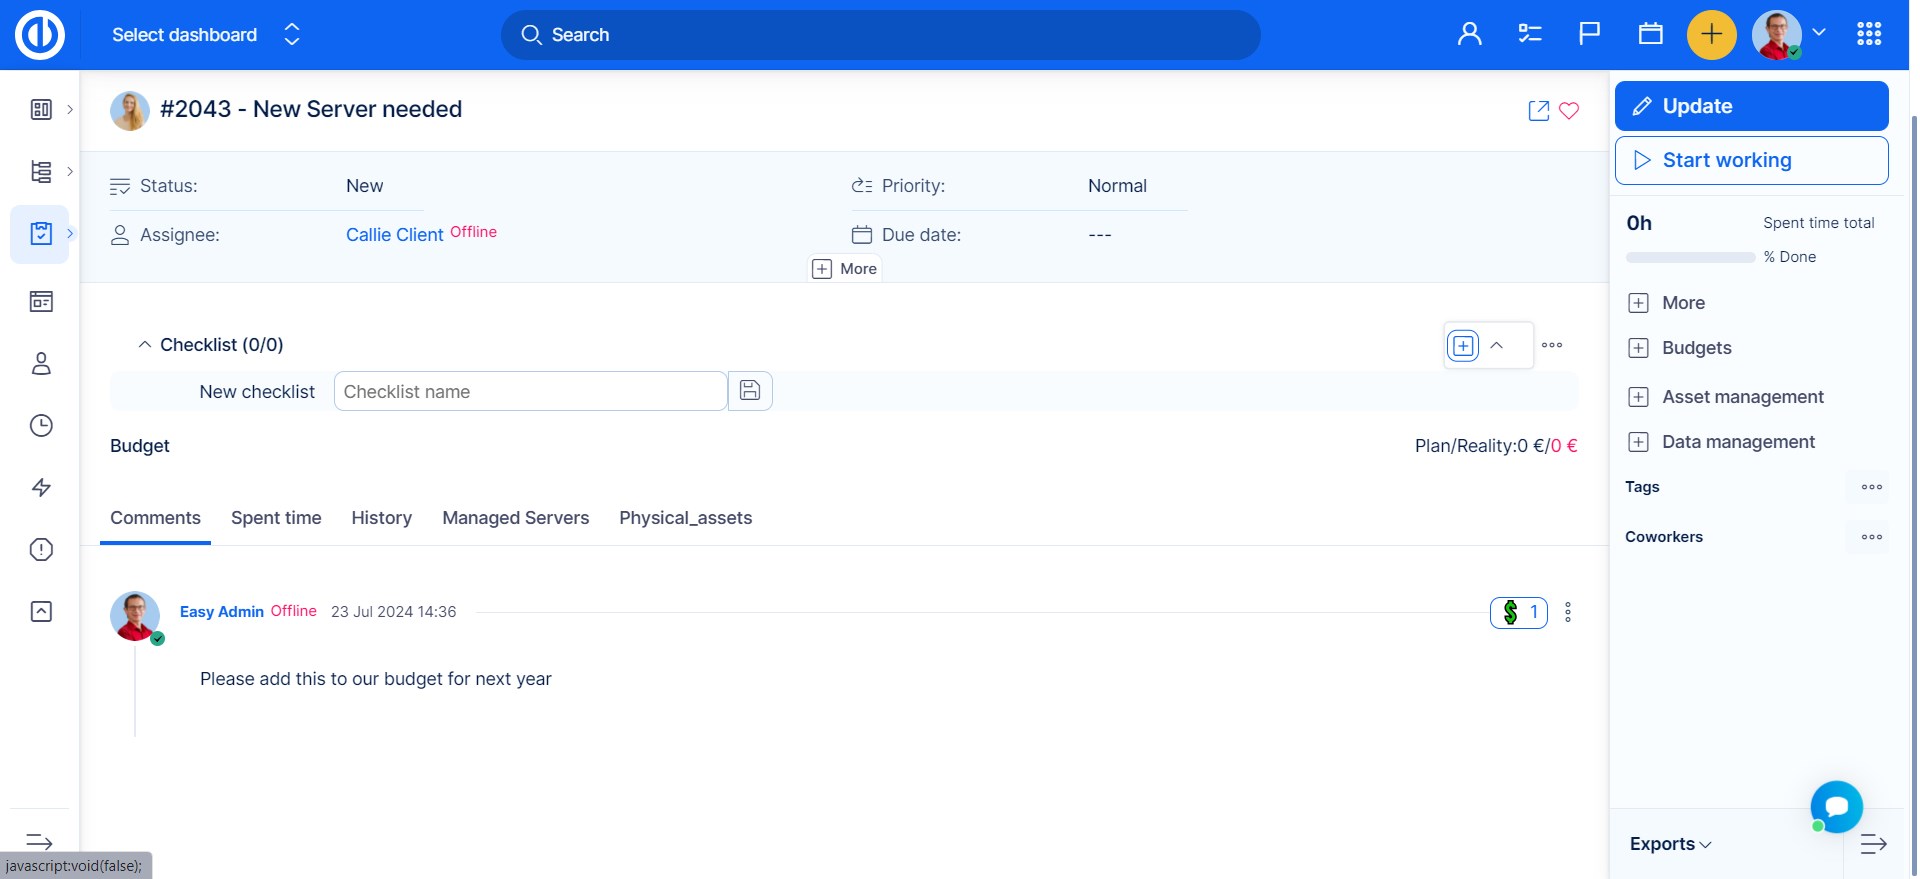
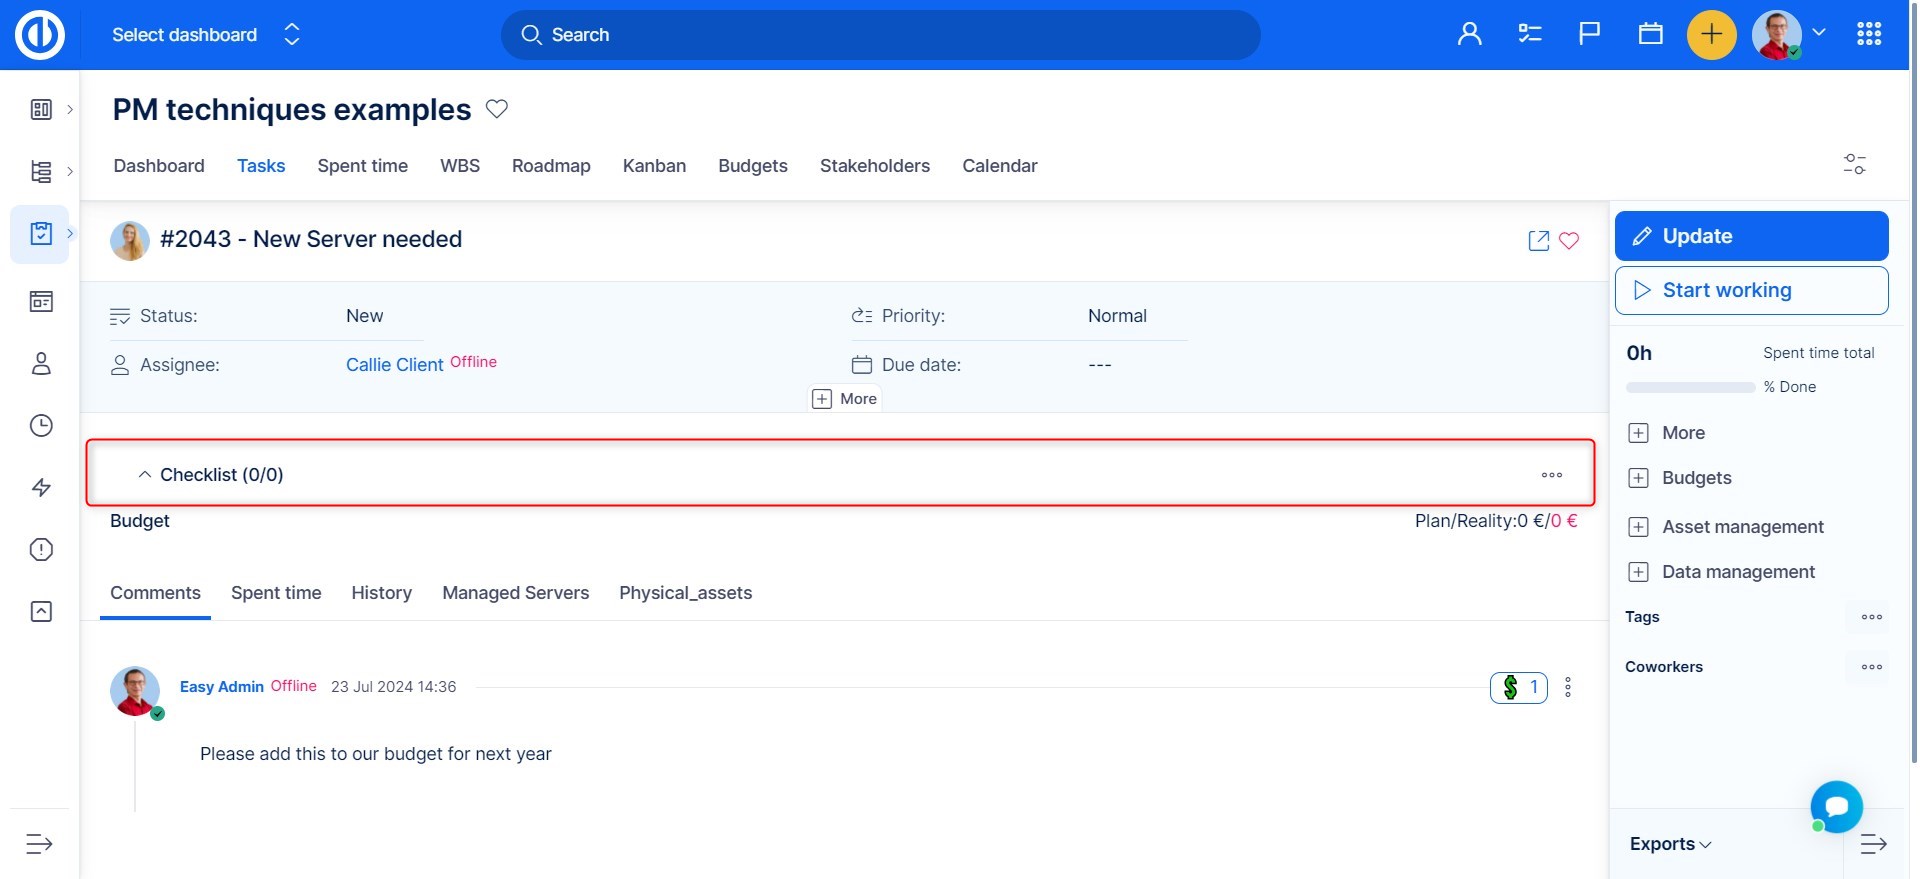
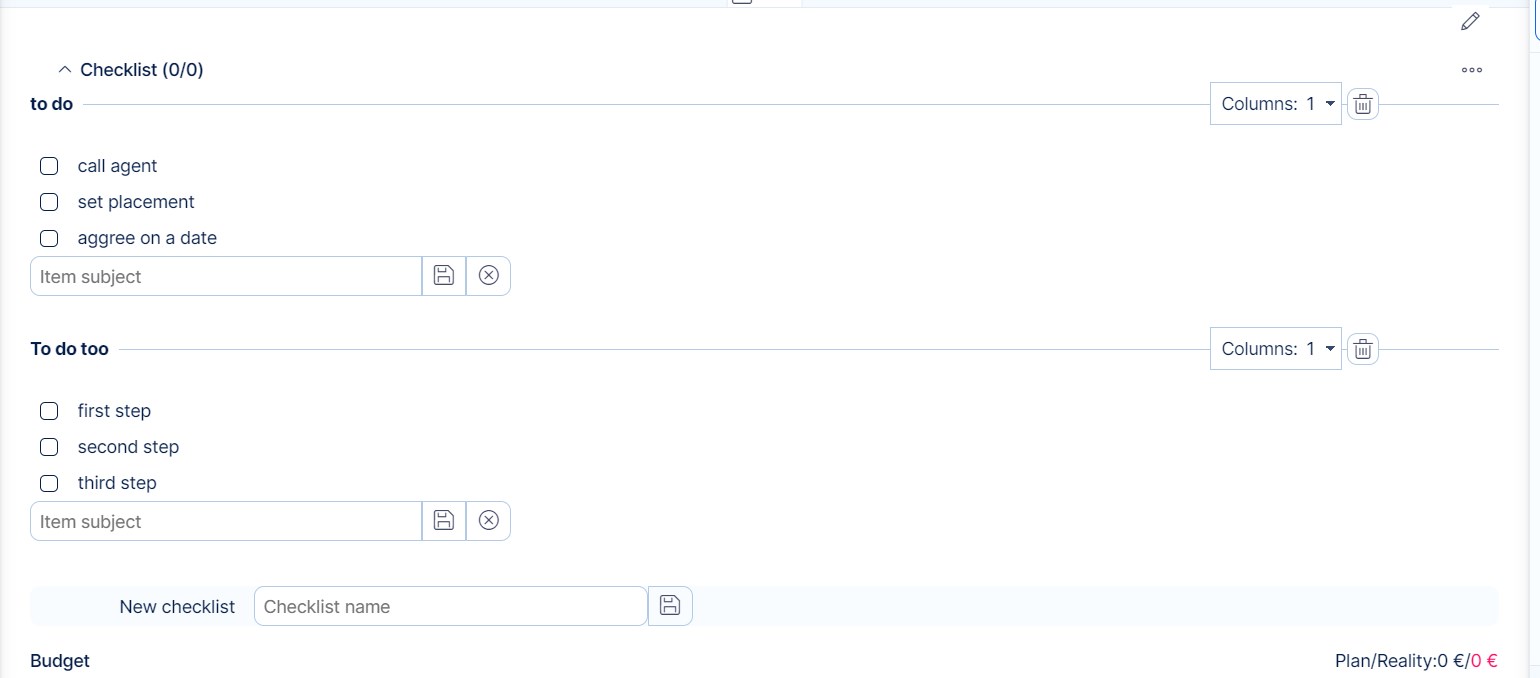
Now, the checklist name appears within the section and you can add new items to it. To add a new item, enter the name and click on the floppy icon or hit ENTER. The cross icon will cancel the item. You will also find option to edit and delete each item after they are created.
![]()
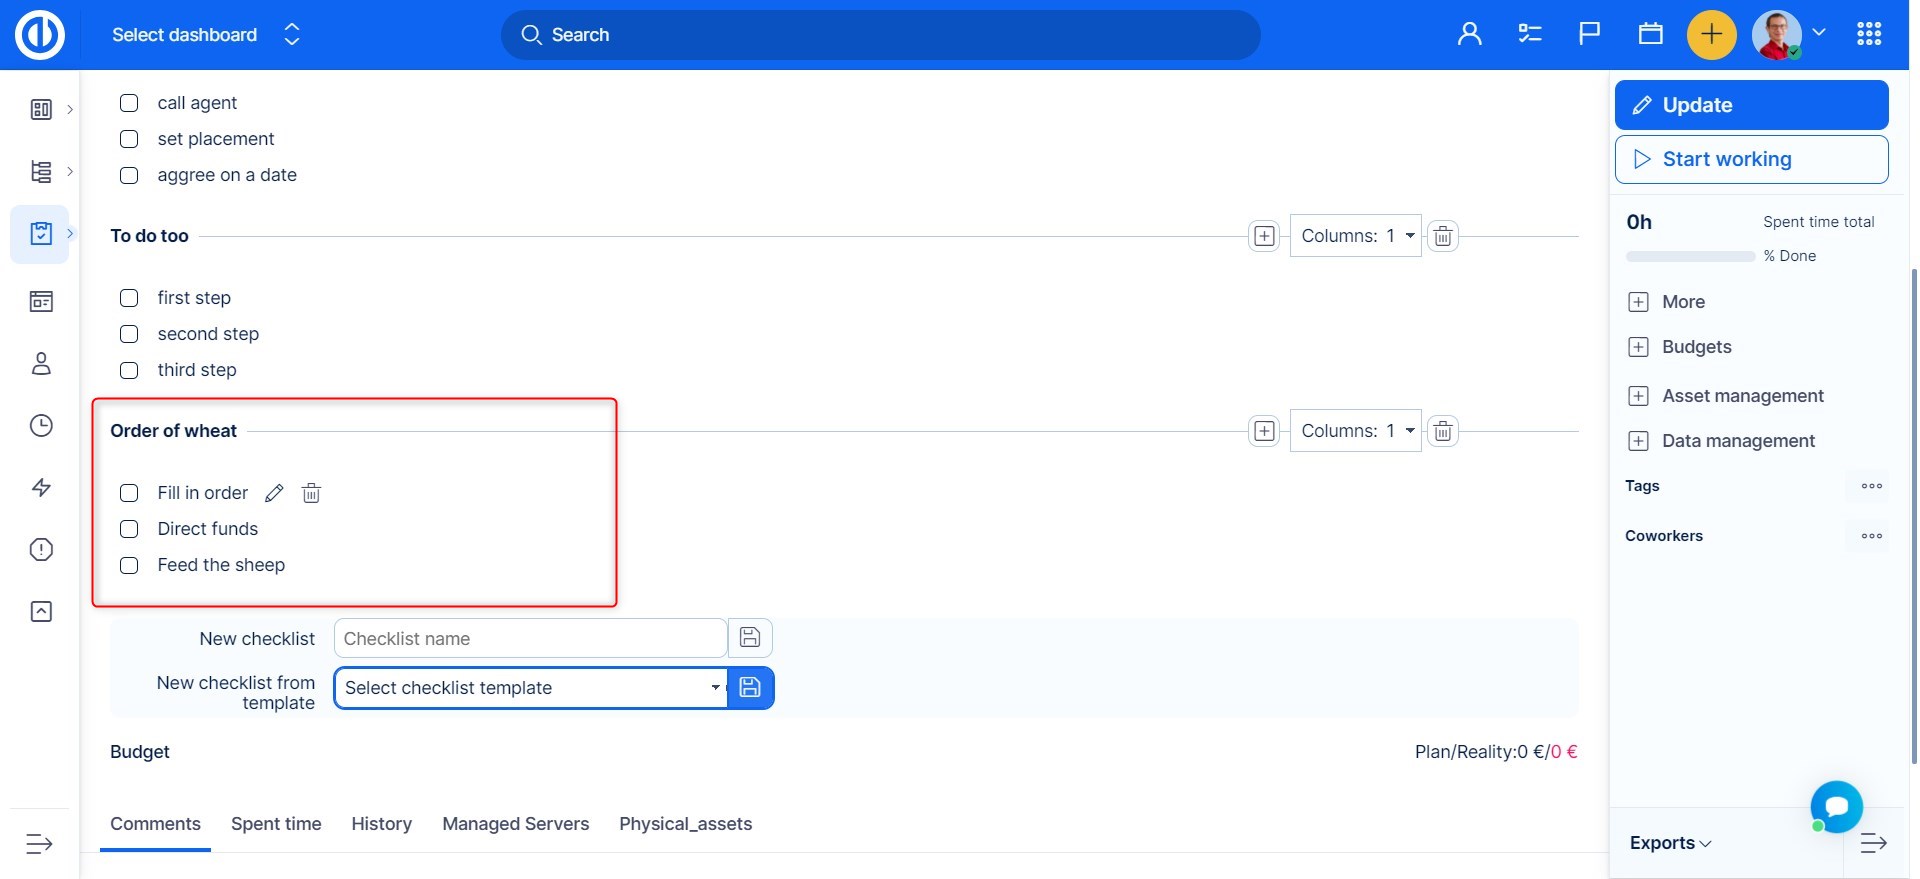
As the created items sort into columns, you can select the number of columns show. Using the trash icon, you can delete a whole checklist.

Multiple checklists can be added to one task. and each can be edited separately.
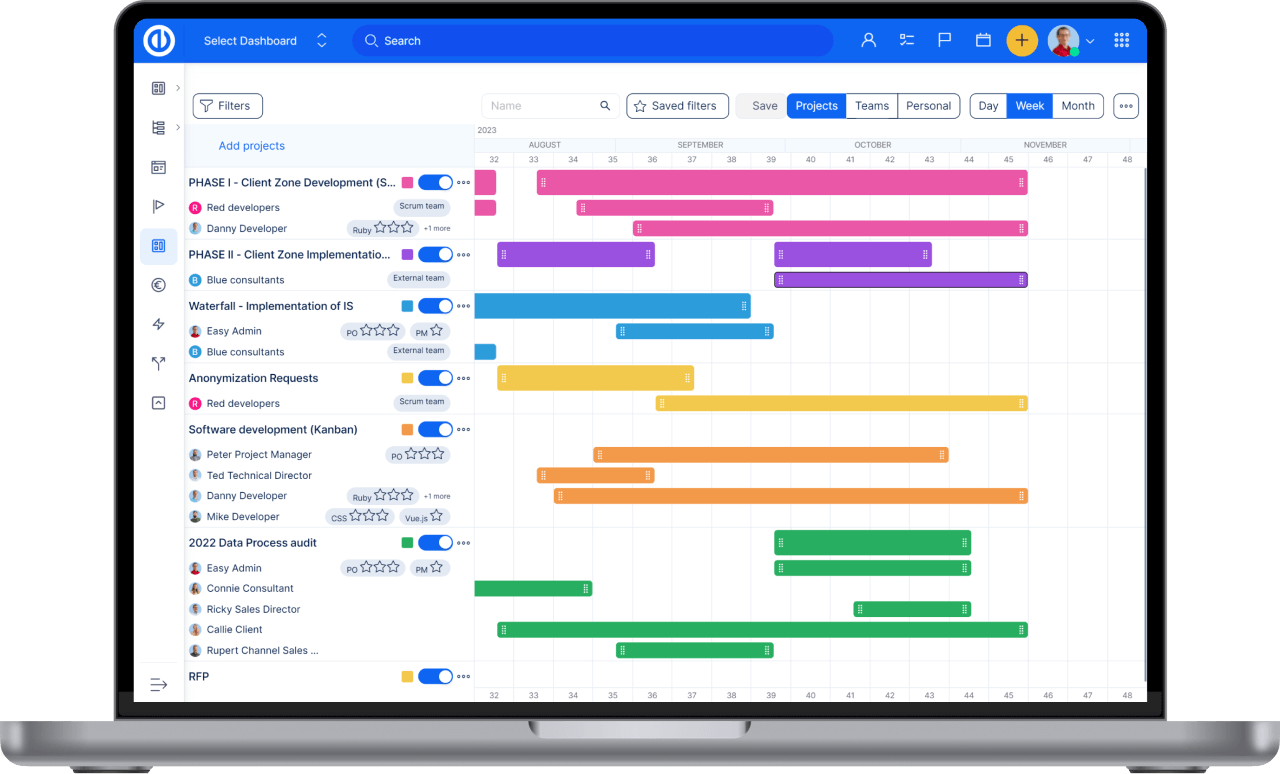
Upgrade your project management
Get next-level Redmine features that adapt to your needs and bring you perfect overview.
Global templates and settings
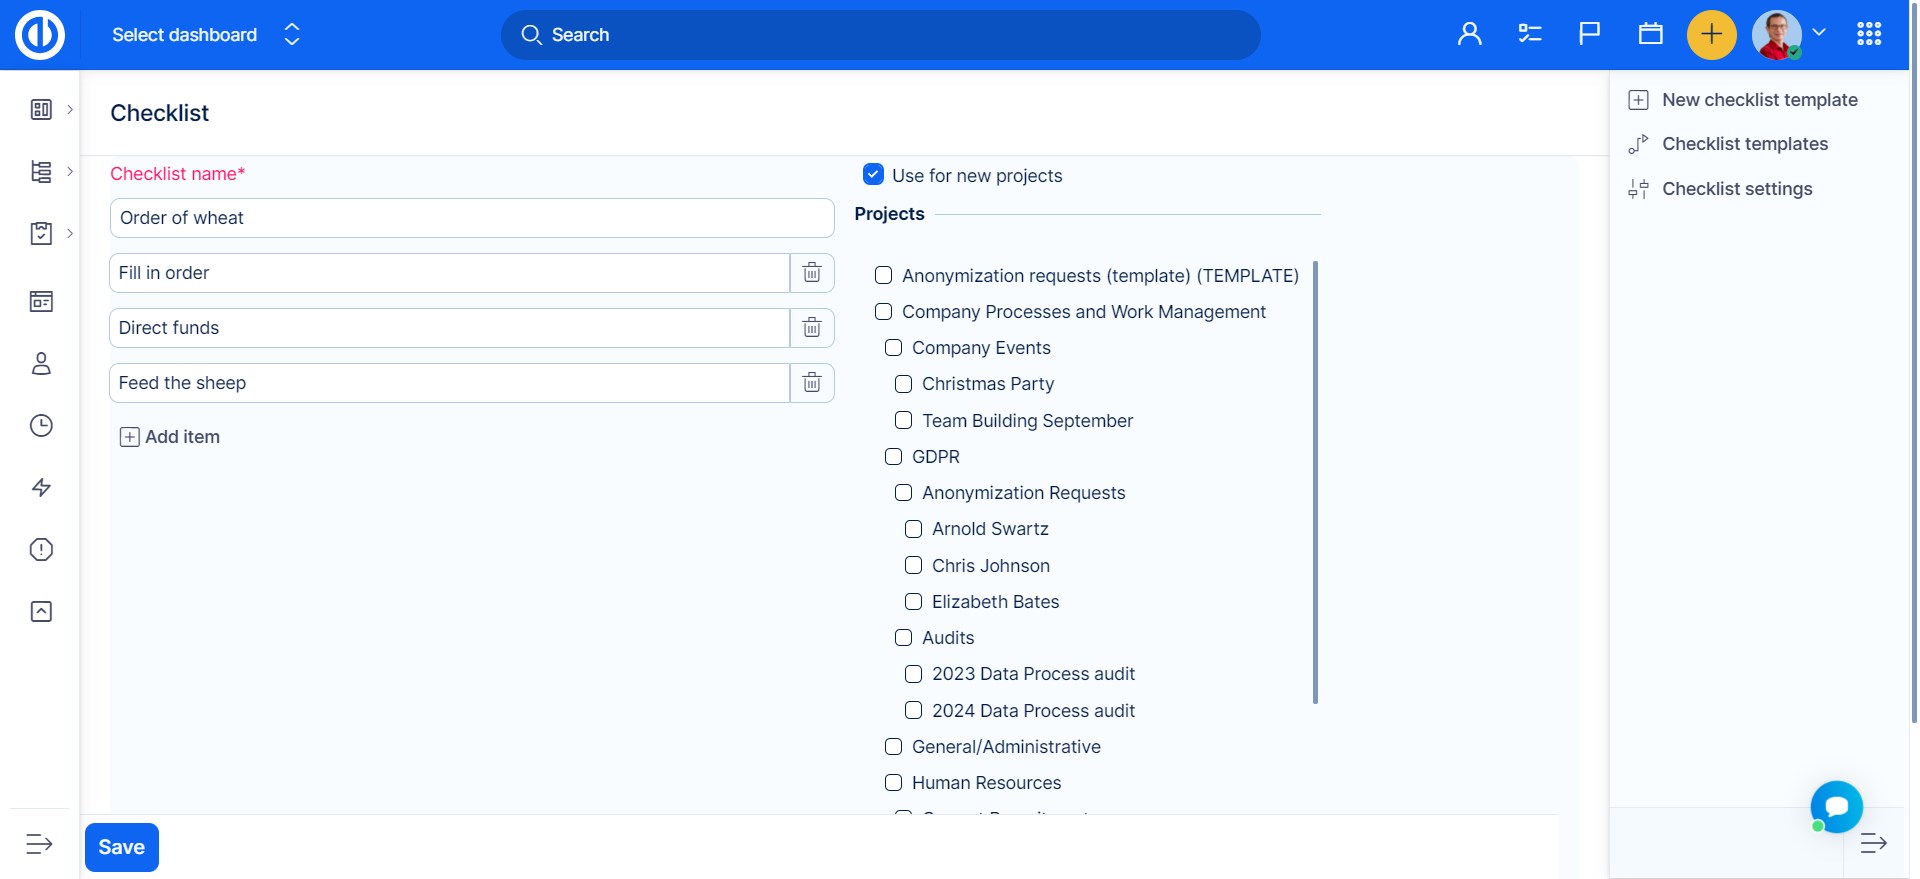
You can find the global checklist templates and settings in Global menu >> Administration >> Checklist templates.
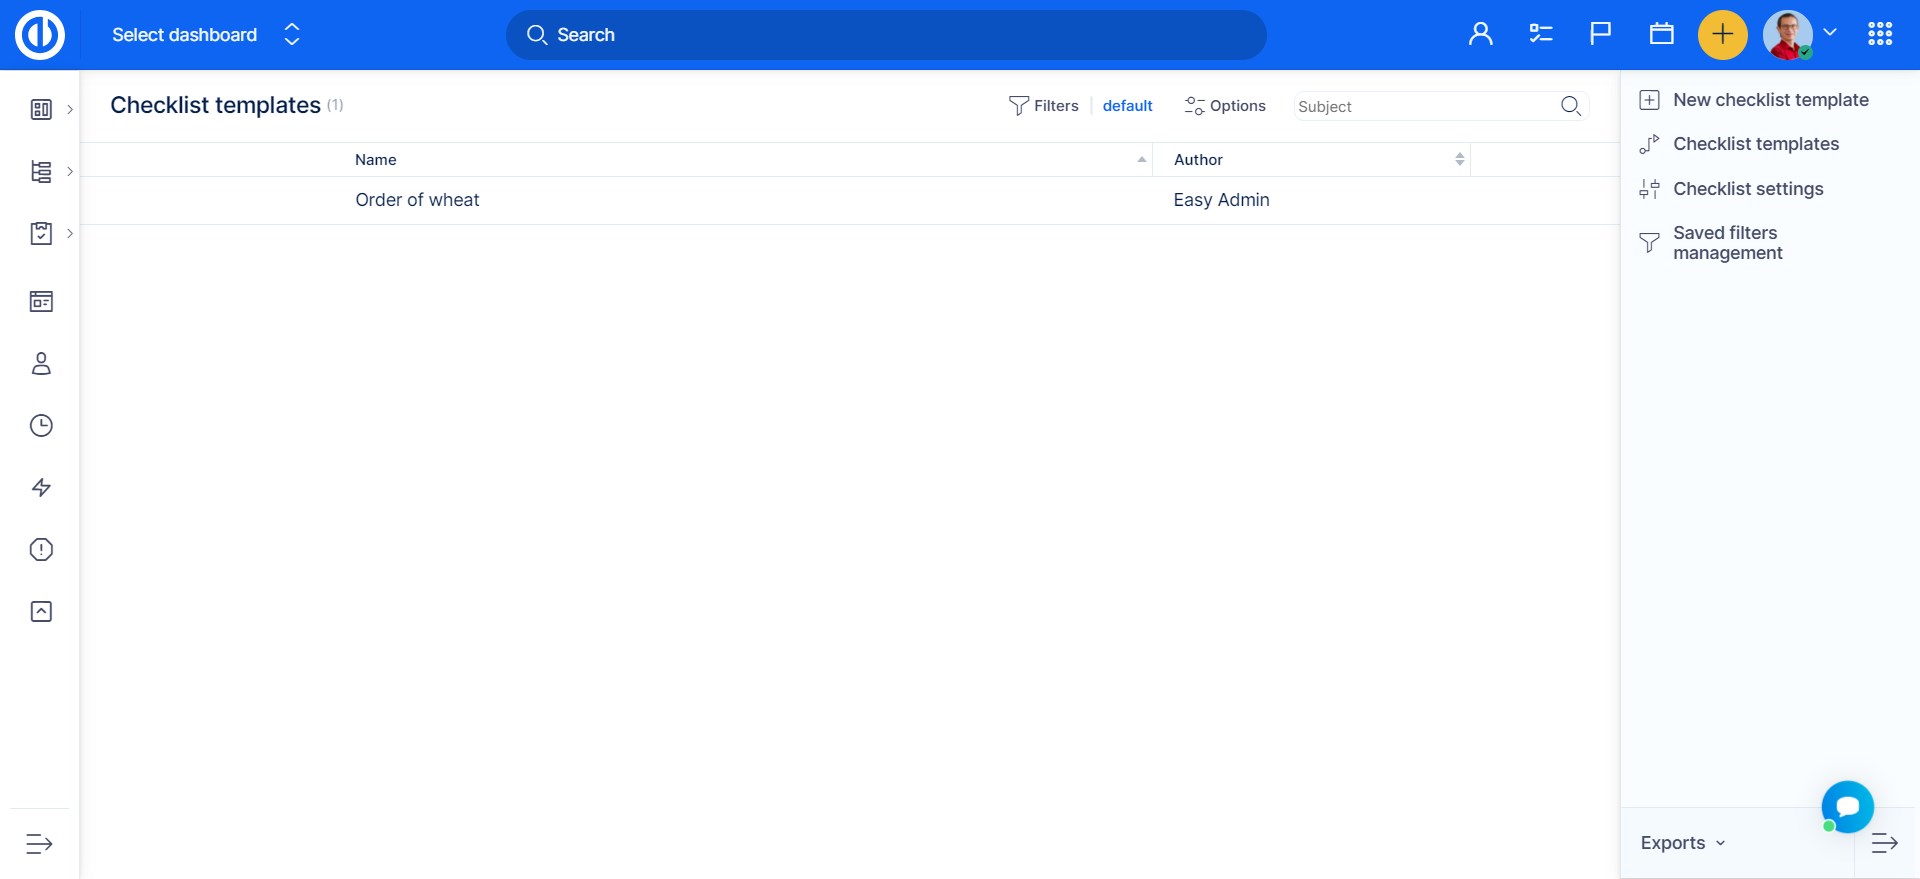
To add a new checklist template, click on the plus button at the upper right. Then enter the checklist name, item subjects and select projects where to use the template.
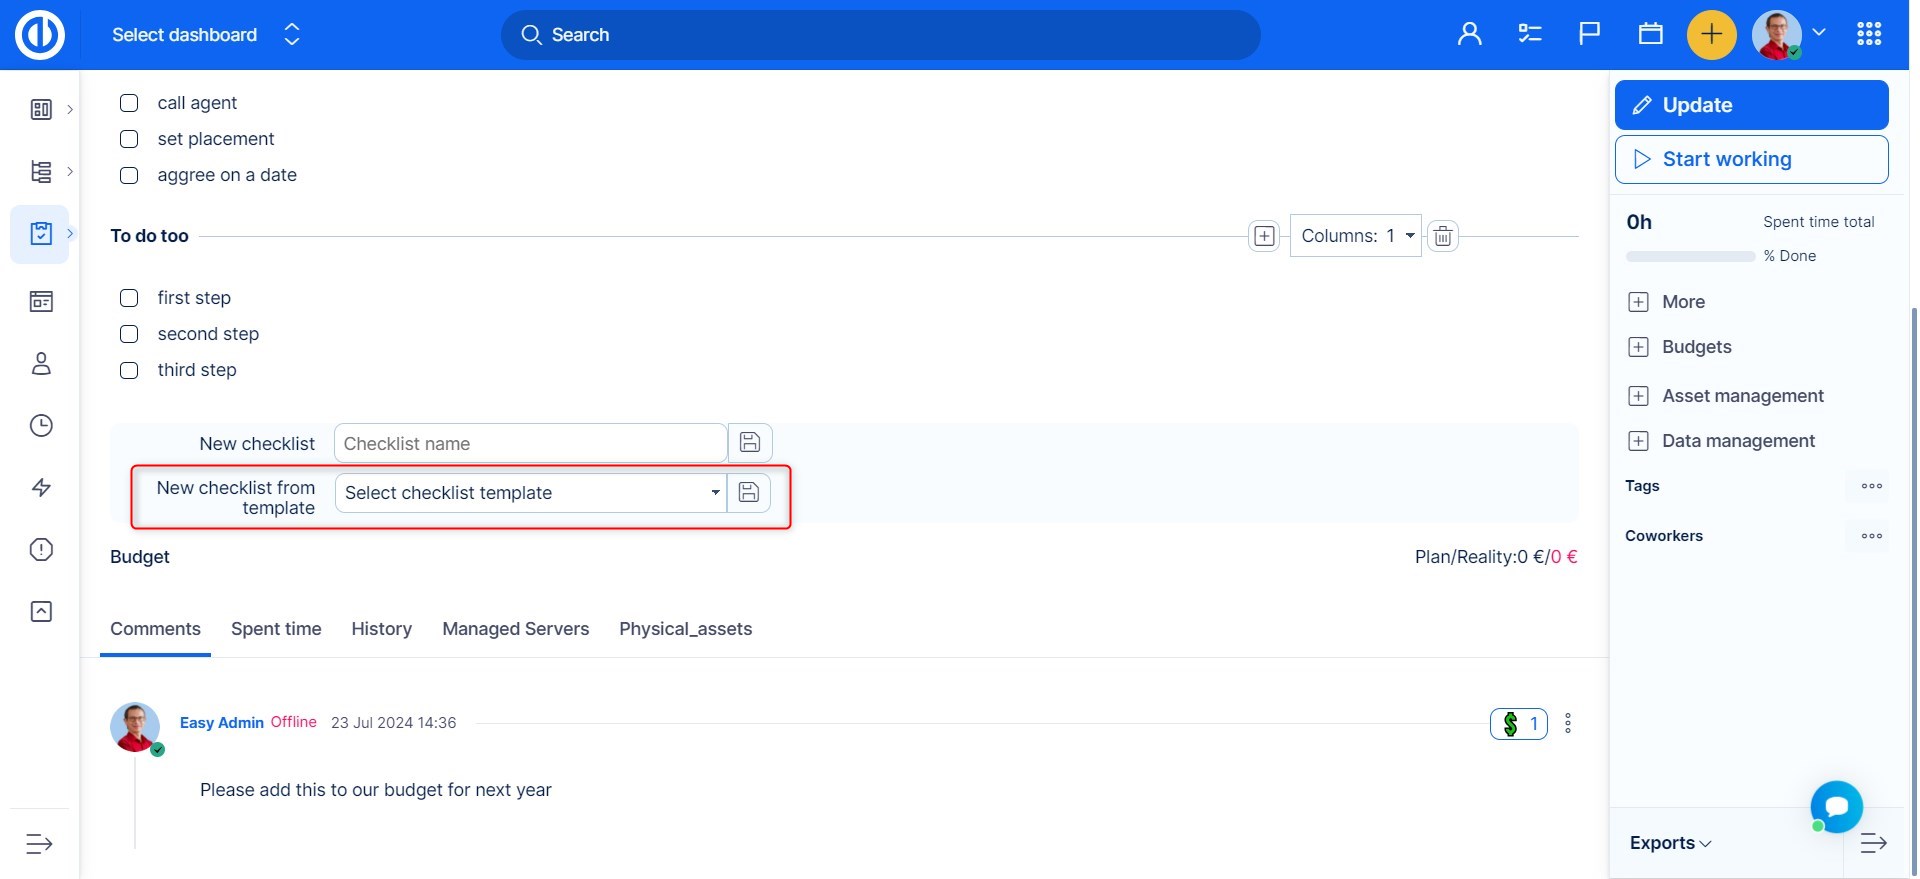
Once the template is created, you will find the option to select a checklist from template on the task:
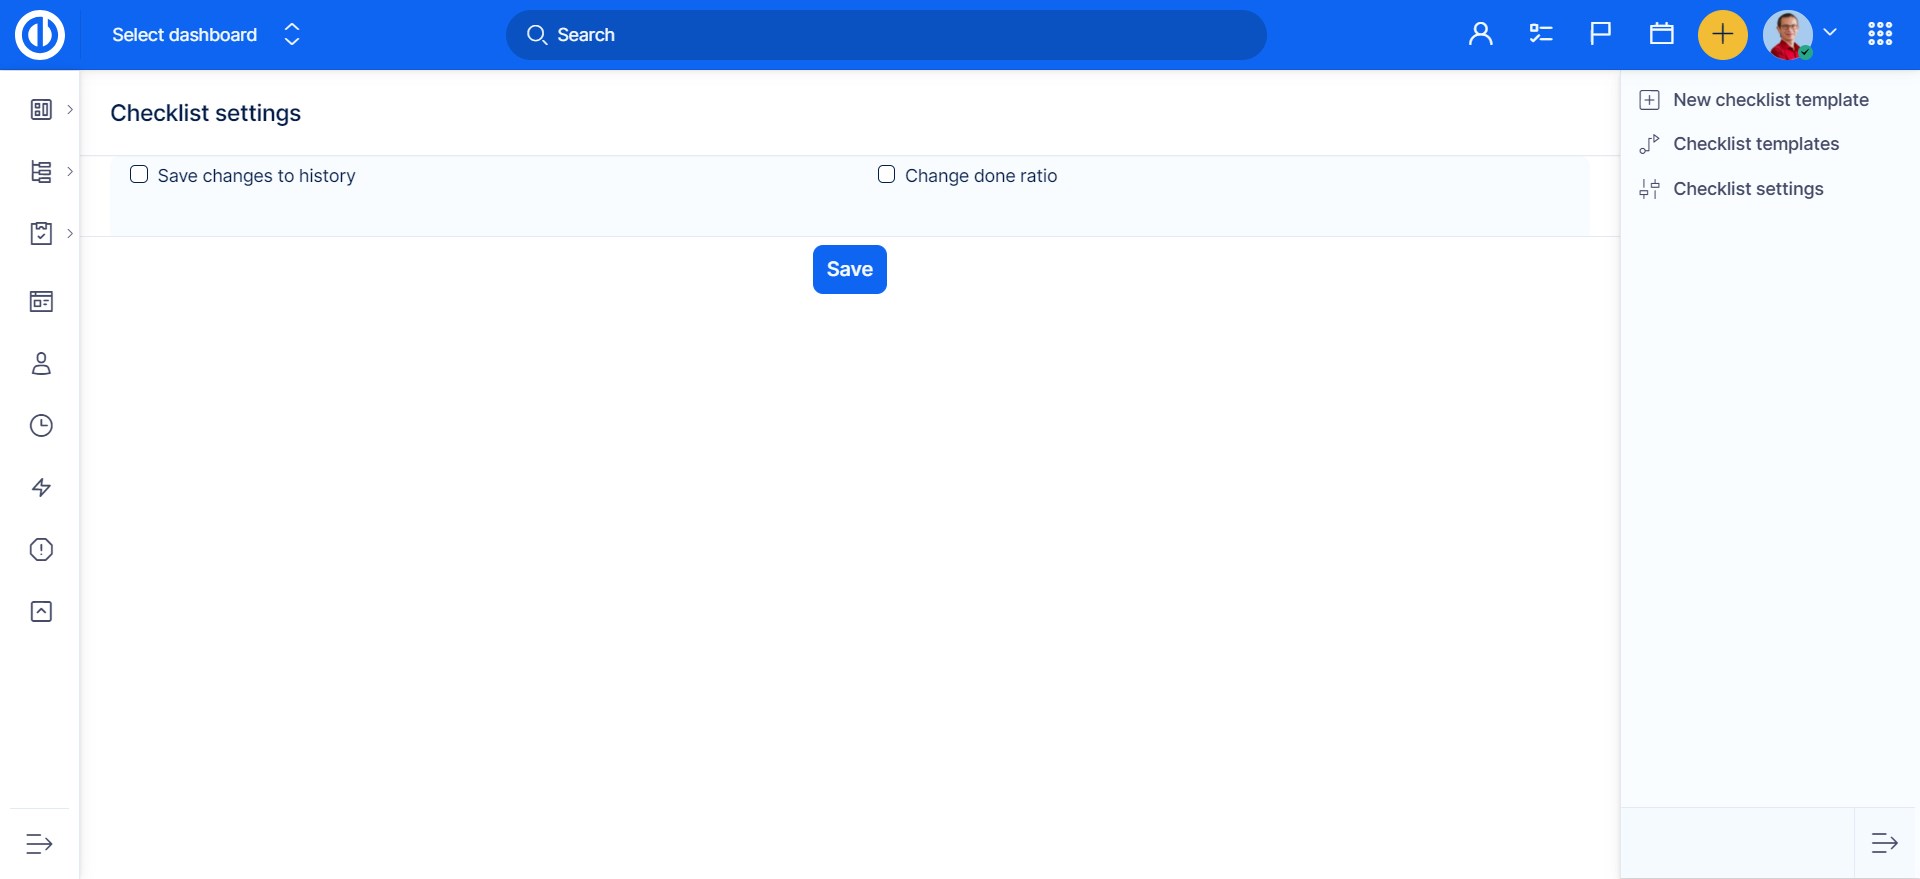
Moreover, in the right menu of Checklist templates, there is also a button called Checklist settings. In there, you can set up whether to save changes made on checklists to history (sends email notifications) as well as to change done ratio of a task based on the portion of checklist items done (ticked checkboxes).