


Introduction
This guide will show you how to use project templates in Easy8 to create new projects quickly and efficiently. Project templates help standardize project structures, ensuring consistency in task management, settings, and permissions. By following these steps, you will learn how to apply templates to streamline your project setup.
Target Audience
- Project Managers
- Administrators
Prerequisites
Before starting, ensure you have:
- Administrator or project creation permissions.
- Access to existing project templates.
- A clear understanding of the template settings and configurations.
How to Use Project Templates for Project Setup
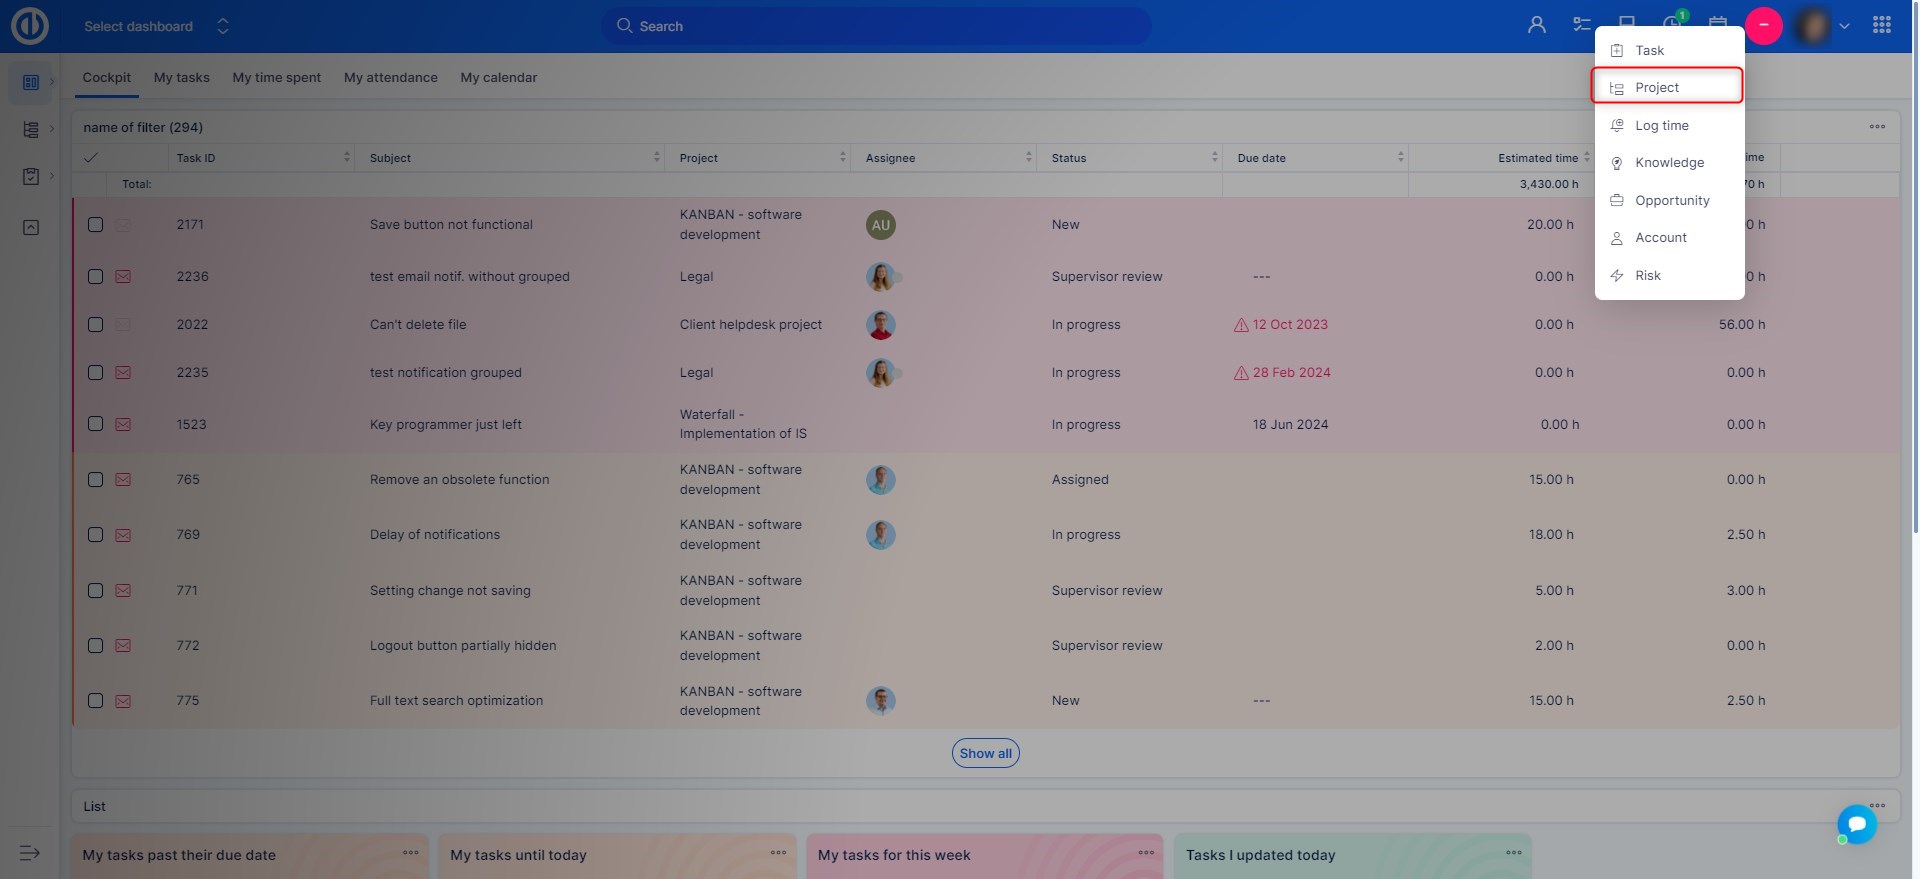
Step 1: Access the Project Creation Page
- Log in to Easy8.
- Navigate to the Projects menu.
- Click New Project to open the project creation form.
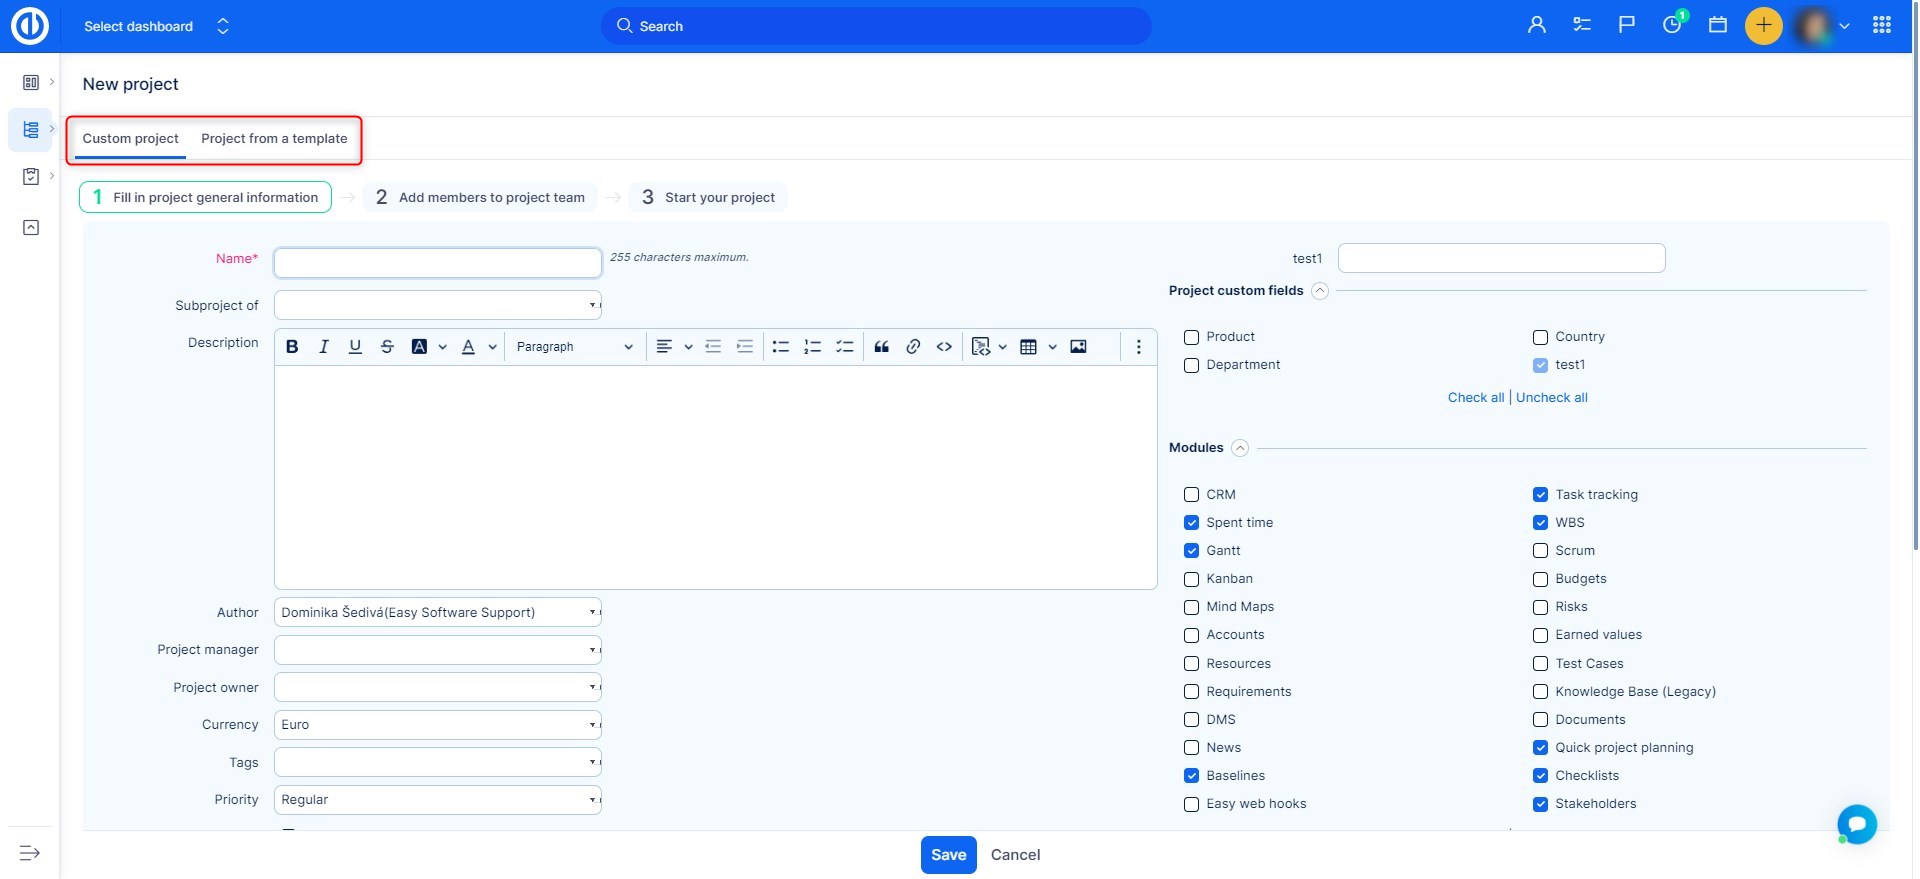
Step 2: Select a Project Template
- Above the project creation form, locate the Project from a template option.
- Choose an existing project template from the list and click the plus symbol at the end of the row.
- The selected template will automatically apply predefined settings, including tasks, milestones, roles, and modules.
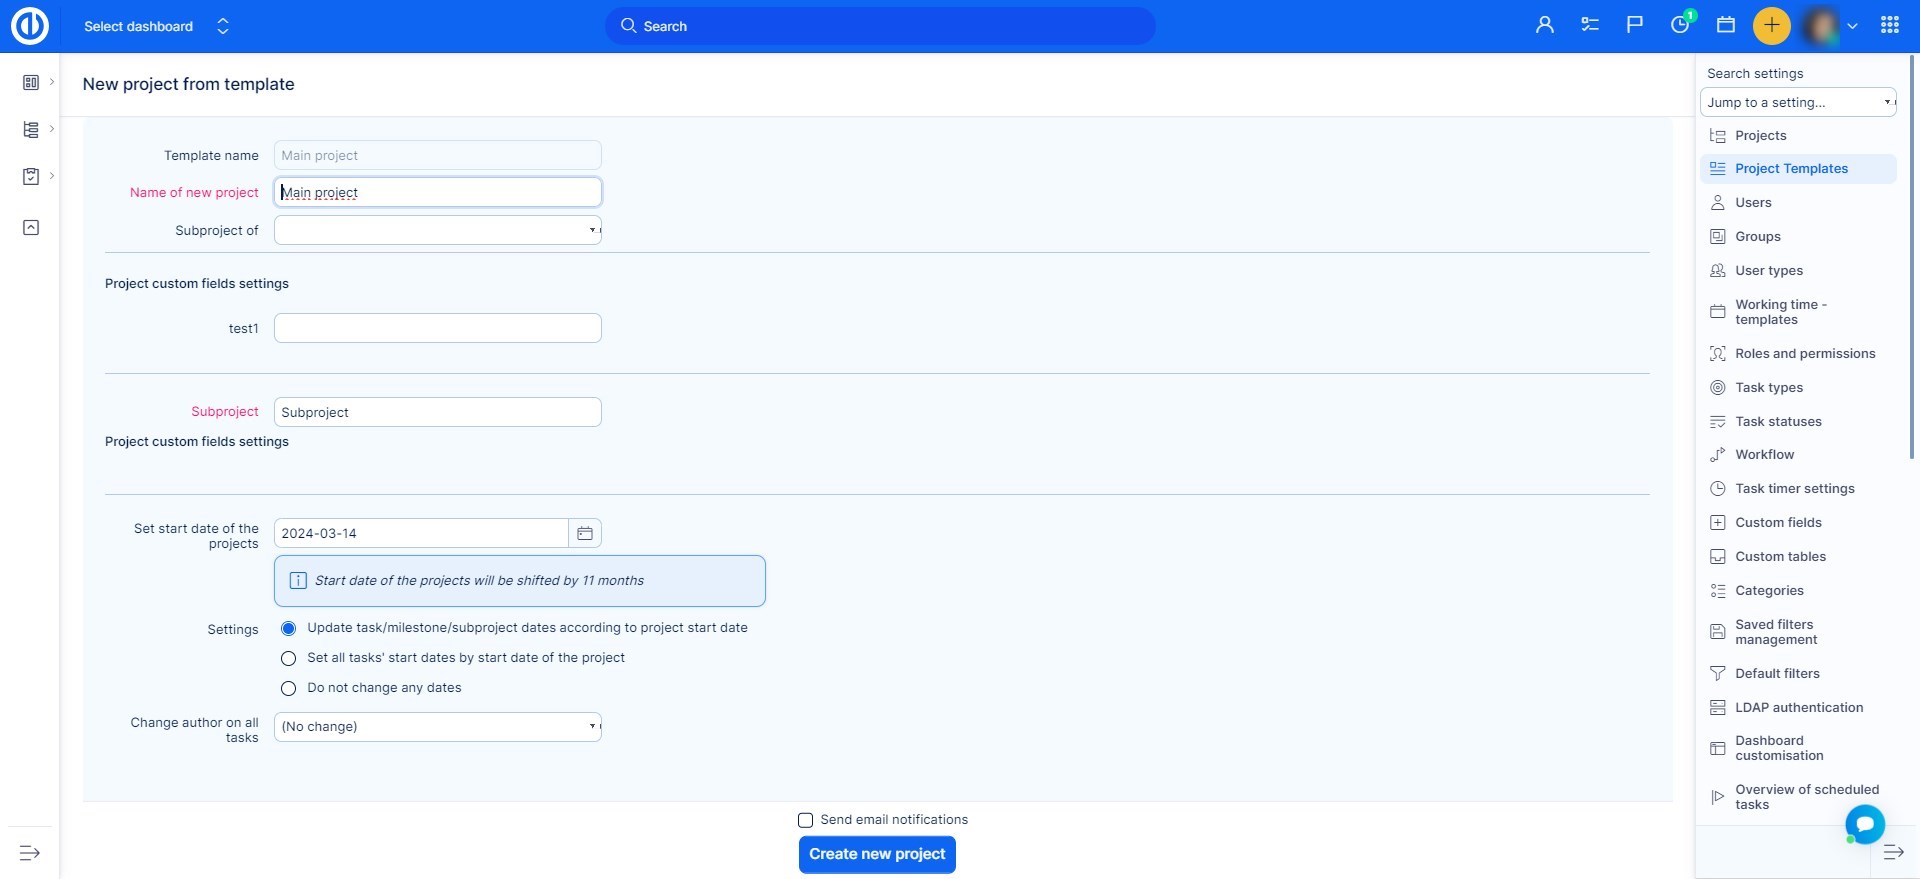
Step 3: Customize Project Details
- Enter Project Name – Provide a unique name for the new project.
- Modify Start Date – Adjust if necessary as today's date will be inserted by default.
- Review Other Settings – Custom fields may be available, as well as more additional settings.
- Click Create New Project Button - This will create the new project from the chosen template.
Step 4: Specify Project Details
- Enter Description – Desbribe the project and its goals in few words.
- Set Owner and Manager – Set the project owner and manager fields to clearly indicate responsibilities.
- Priority, Custom Fields, Trackers – Indicate the projects importance with priority field, select custom fields and trackers available.
- Finalize Settings and Save - Set the remaining options based on your business needs and click the Save button.
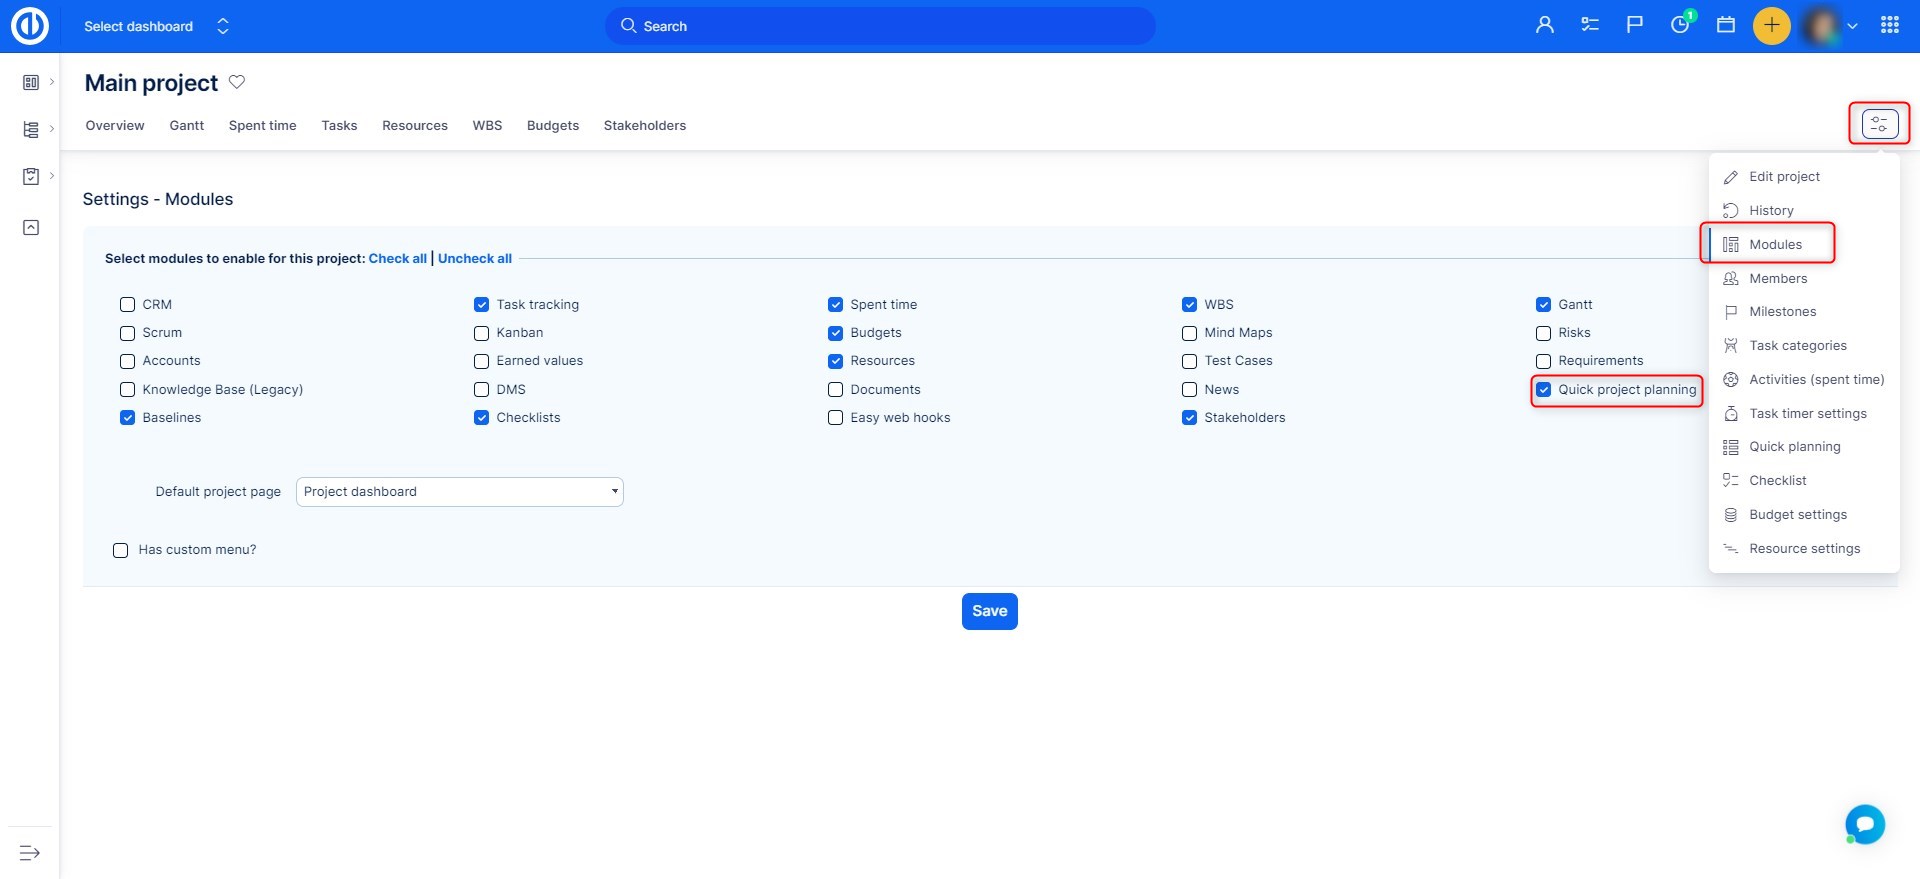
Step 5: Enable or Adjust Modules
- Open the Modules section in project settings.
- Enable or disable features such as Task Management, Time Tracking, and Gantt Chart.
- Save changes to apply module adjustments.
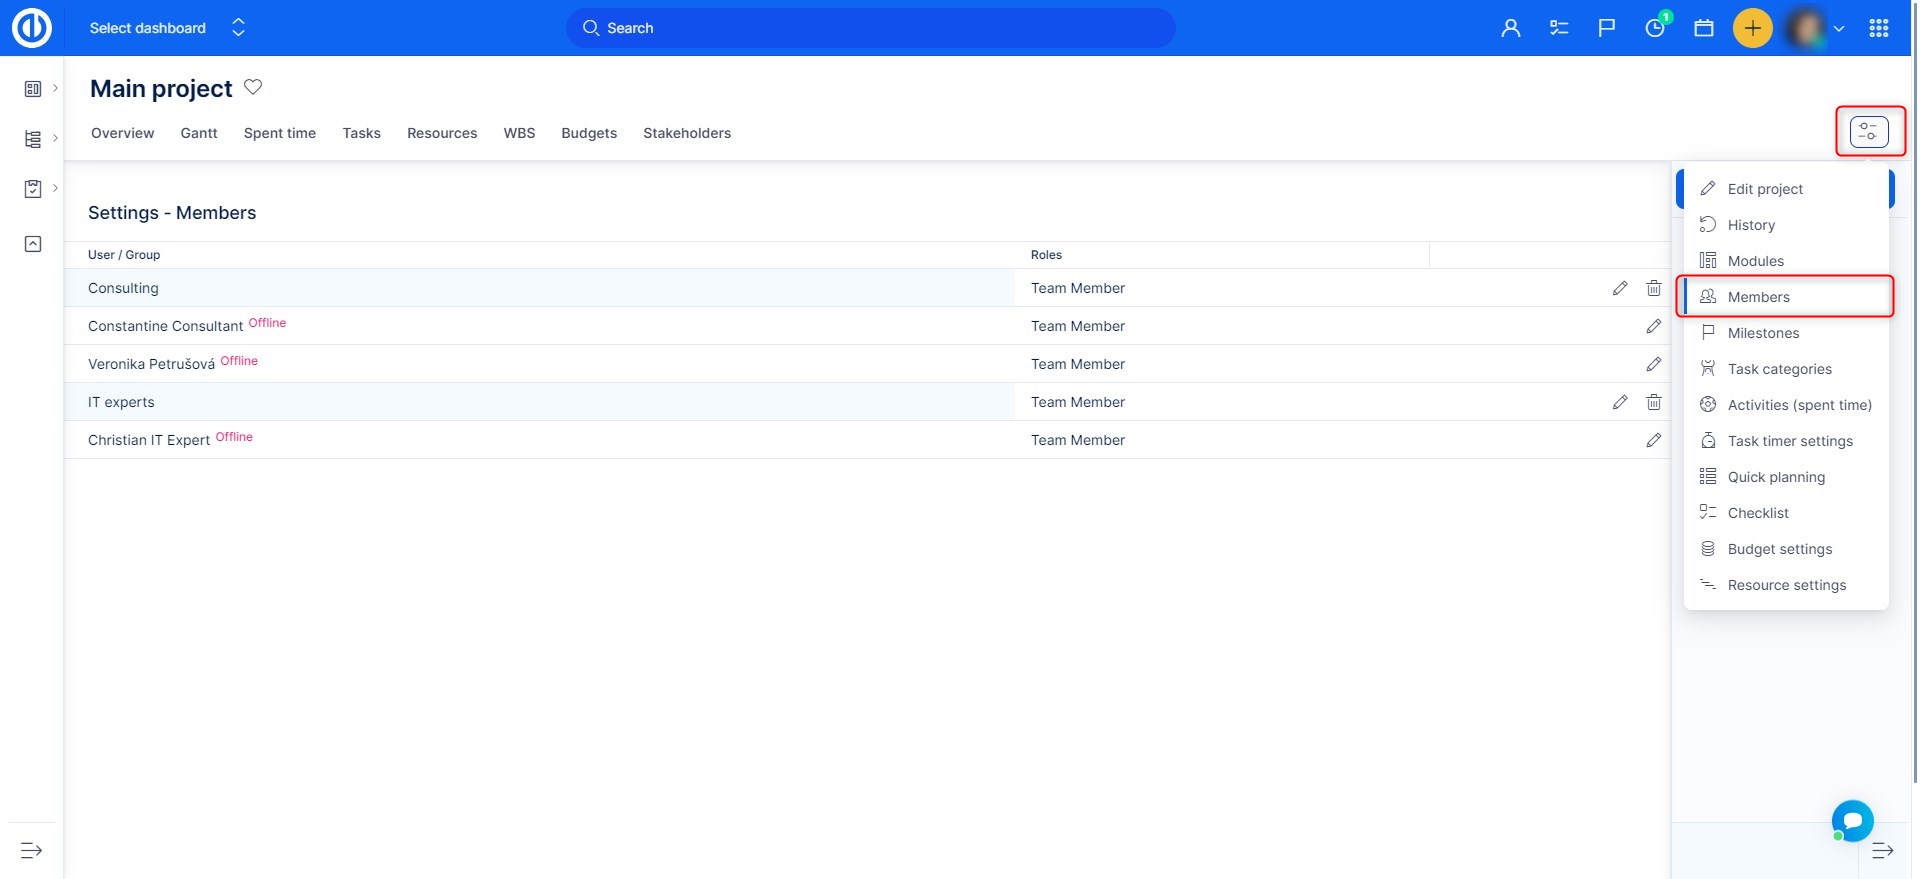
Step 6: Add Members
- Open the project settings and select the Members option.
- Add memeber and adjust their roles.
Troubleshooting
- If no templates are available, check with an administrator to ensure templates have been created.
- If the applied template does not include necessary features, manually adjust settings in the Project Settings menu.
Conclusion
By using project templates, you can save time and maintain consistency in project structure and management. This method ensures that all necessary settings and configurations are in place from the start.

